- This topic is empty.
-
AuthorPosts
-
2025-08-15 at 6:11 pm #86386
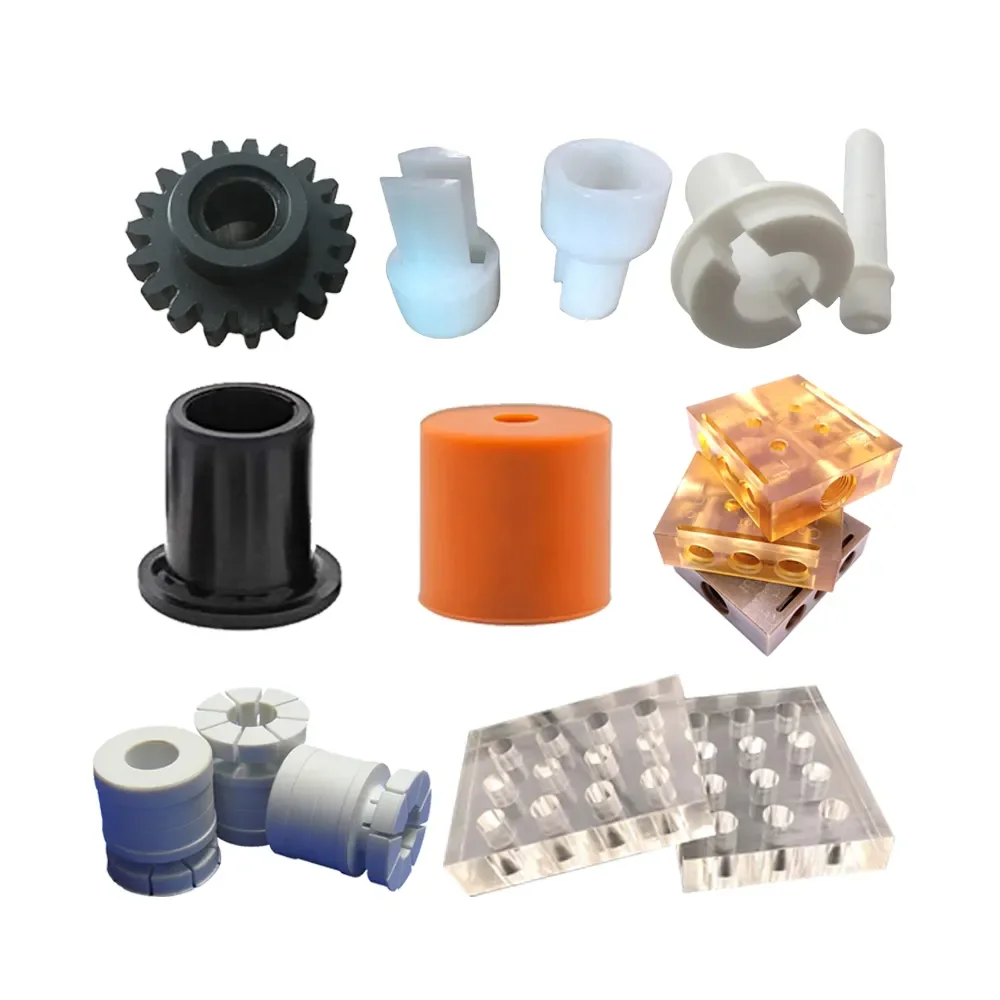
In today's fast-paced manufacturing environment, the demand for custom high precision plastic machining parts has significantly increased, especially in industries such as medical devices, aerospace, automotive, and electronics. These components often serve as mission-critical elements where even the slightest dimensional deviation can compromise the entire system. In this blog post, as a professional CNC machining parts service provider, Vibo will share the quality control of custom high precision plastic machining parts for sale.
Importance of Quality Control in Precision Plastic Machining
Quality control is not merely a post-production check—it is an integrated process that encompasses design validation, material selection, machining processes, and final inspection. The precision required in custom plastic components is often in the micron range, necessitating state-of-the-art measurement techniques and process control mechanisms. The purpose is to ensure each part meets the defined tolerances, material characteristics, and surface finish requirements without deviation.
Raw Material Inspection and Traceability
The foundation of high-quality machining lies in choosing the right plastic materials, such as PEEK, PTFE, Delrin (acetal), ABS, or UHMW. Each material has unique mechanical and thermal properties, and improper selection or contamination can lead to part failure.
Key QC measures for material inspection include:
* Certificate of Analysis (COA) verification from suppliers.
* Spectroscopic analysis to confirm material composition.
* Visual and dimensional inspection of raw rods or sheets.
* Implementing traceability systems to track each batch used in production.
Maintaining traceability is crucial for compliance with industry standards and for facilitating root cause analysis in case of defects.

Design and Process Validation
Before full-scale production begins, design verification ensures that the component can be reliably manufactured within tolerance. This is followed by process validation, where the production steps are simulated under real-world conditions.
Key validation steps include:
* First Article Inspection (FAI): A sample part is manufactured and compared to the CAD drawing for dimensional and functional conformity.
* Machining simulation and CAM validation: Ensures optimal toolpaths and prevents collisions or defects during CNC machining.
* Tool wear and performance analysis: Prevents dimensional drift over time due to worn tools.
Process validation ensures that the manufacturing procedure is repeatable and capable of producing consistent results over multiple production runs.
Tolerance Control and In-Process Monitoring
Custom high precision plastic parts often require tight tolerances (±0.01 mm or better). Unlike metals, plastics can deform due to heat buildup or mechanical stress during machining. Therefore, real-time in-process monitoring is necessary to mitigate variability.
Effective strategies include:
* Closed-loop CNC systems that auto-correct deviations in real-time.
* Touch probe systems integrated with CNC machines for dynamic part measurement.
* Environmental controls to maintain stable temperature and humidity during machining.
* Using specialized jigs and fixtures to prevent part movement or distortion.
Such monitoring helps identify issues during production, reducing waste and the need for rework.
Final Dimensional Inspection and Surface Quality Evaluation
Once machining is complete, parts undergo final inspection using precision metrology tools to ensure they meet all dimensional and surface quality criteria.
Common inspection equipment includes:
* Coordinate Measuring Machines (CMM) for 3D dimensional verification.
* Optical comparators and laser scanners for non-contact measurements.
* Surface profilometers to assess roughness, especially for applications requiring fluid sealing or optical clarity.
* Go/No-Go gauges for quick pass/fail checks on production lines.
Depending on the application, surface finish is as important as dimensional accuracy. For example, medical and fluidic components often require a smooth surface to reduce friction or bacterial adhesion.
Functional Testing and Assembly Fit Checks
In many cases, custom machined plastic parts are not standalone components but interact with other mechanical or electronic systems. Therefore, functional testing and assembly verification are critical parts of quality control.
QC procedures may include:
* Mechanical stress and strain tests.
* Thermal cycling to assess performance under varying temperatures.
* Solvent and chemical exposure tests to evaluate resistance.
* Fitment checks using actual mating parts or fixtures.
Functional validation ensures the final product performs as intended in real-world applications and eliminates post-installation failures.
Documentation and Compliance
For high-precision industries, such as aerospace or medical devices, documentation and regulatory compliance are mandatory. Manufacturers must maintain comprehensive records of inspection, test results, and process adjustments.
Important documentation includes:
* Inspection reports and CMM data.
* Process capability studies (Cp, Cpk).
* Certificates of Conformance (CoC).
* Material lot traceability logs.
Such documentation supports both internal audits and customer certifications, ensuring transparency and quality assurance.
Continuous Improvement and Feedback Loops
Quality control is not a one-time activity but a continuous improvement process. Feedback from inspections, customer returns, and field performance should be systematically analyzed to identify trends and opportunities for improvement.
Key approaches include:
* Root cause analysis (RCA) and corrective action reports (CAR) for non-conformities.
* Statistical Process Control (SPC) to monitor key variables.
* Regular training of technicians and quality staff on best practices and emerging standards.
* Implementing Six Sigma or ISO-based quality frameworks to institutionalize improvements.
A robust quality control system not only ensures the integrity of custom machined plastic parts but also builds long-term customer trust and competitive advantage.
Conclusion
The production of custom high precision plastic machining parts is a highly specialized process that demands rigorous quality control from start to finish. From raw material verification to final inspection and documentation, each step contributes to ensuring dimensional accuracy, material integrity, and functionality. As industries push for more complex, high-performance plastic components, investing in advanced quality control practices is not optional—it's essential for sustained success and customer satisfaction.
-
AuthorPosts
- You must be logged in to reply to this topic.